This project is a C++ project where I want to learn and get the hang of working with c++ and library’s. I wanted to create a simple app where I can add a lot of functionality and room for expansion. This is purely a project for learning C++ and working with raylib, CMake and working with library’s, but the git project and releases page keeps getting updated.
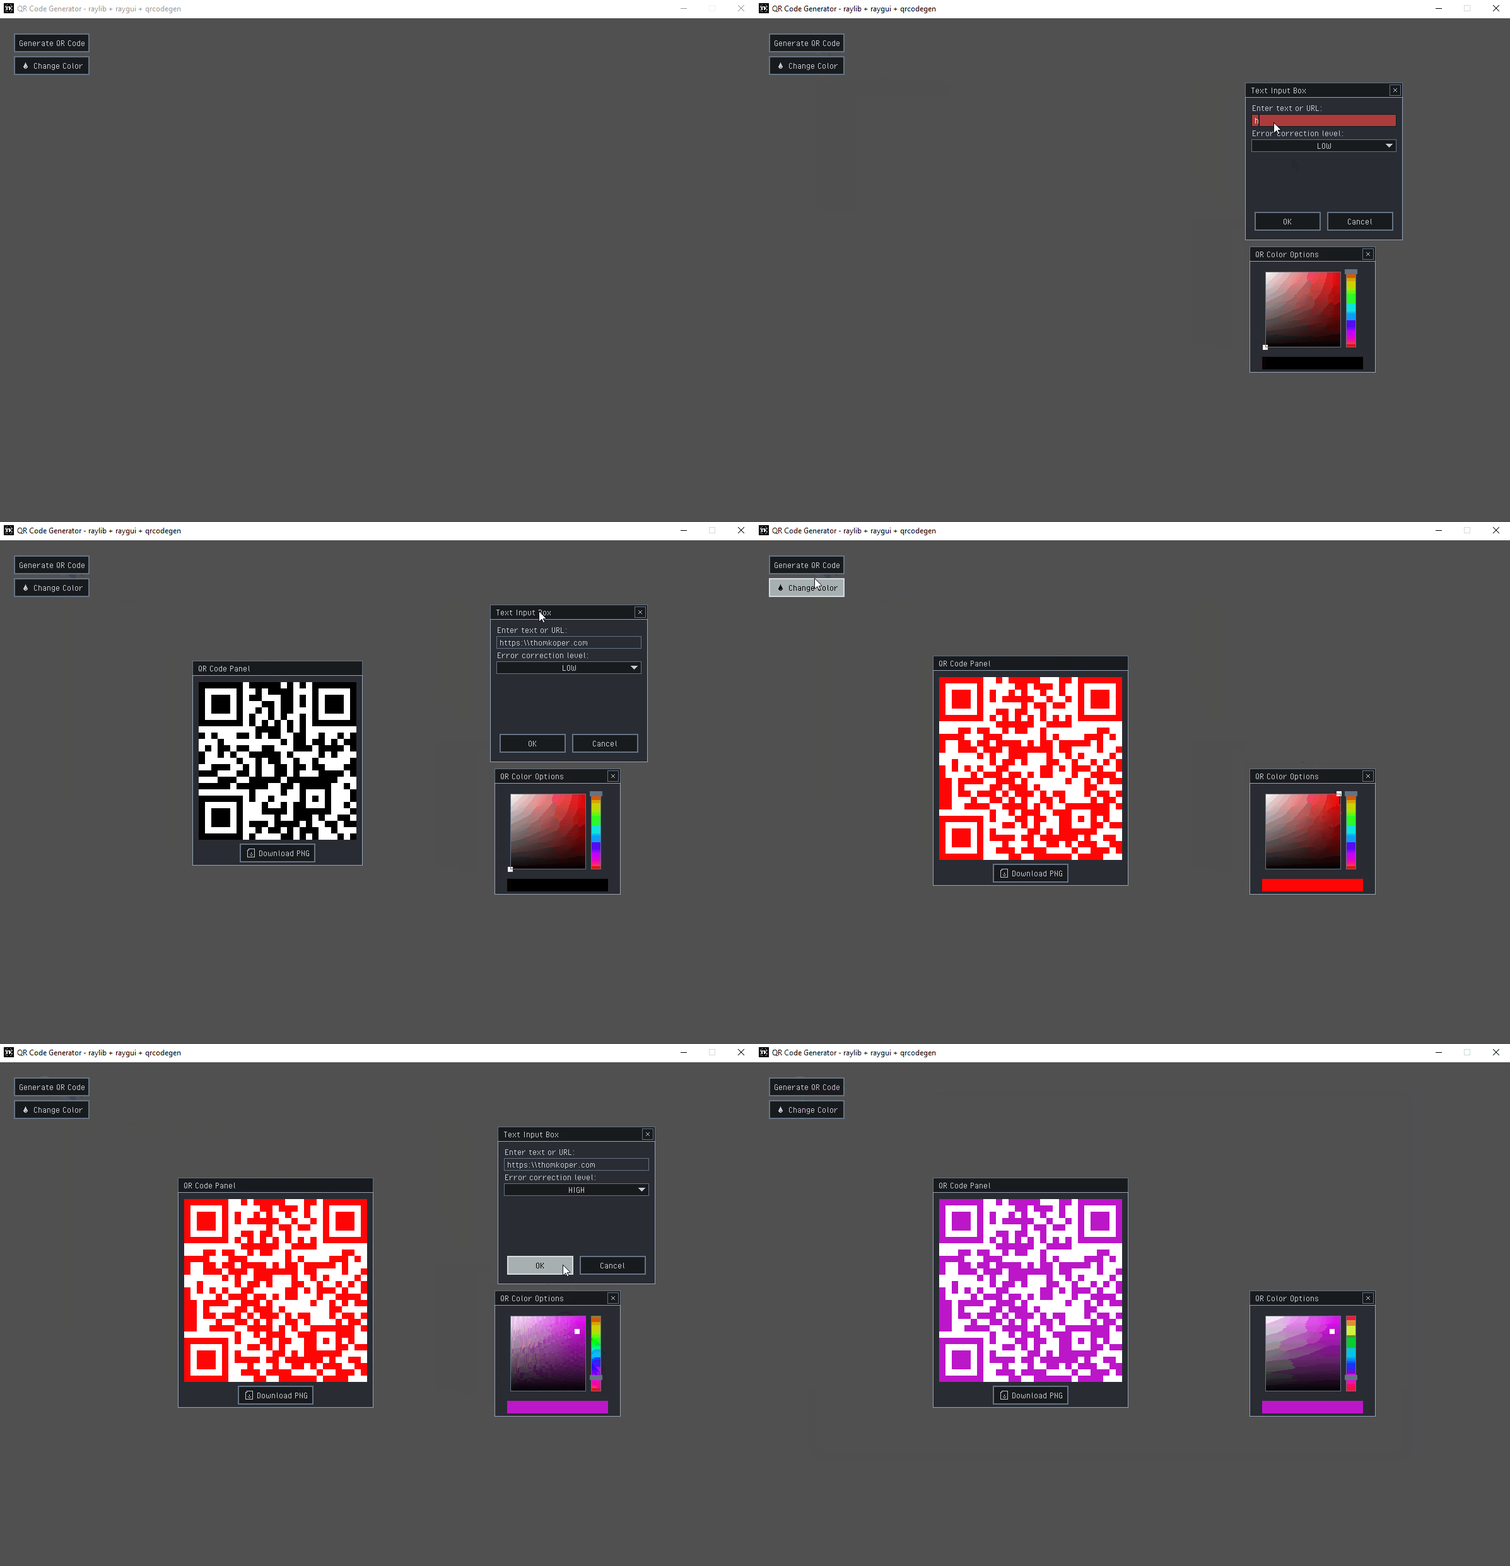
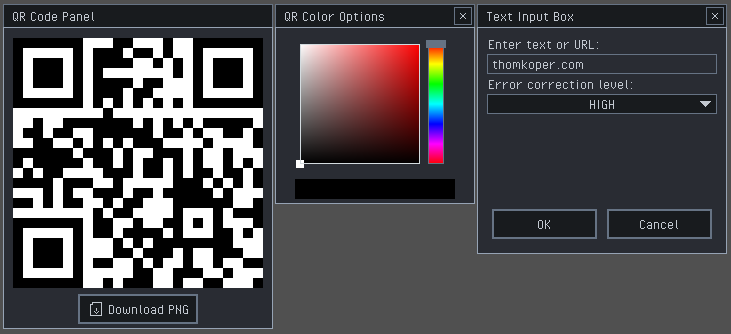
This app generates a QR code for you based on the parameters you give the program. You can edit: The color, the text/URL and the correction level, and you can save your QR code to an .PNG image! For now pretty limited, but there a features planned for later like: QR modules size(how many pixels each module takes up), QR code gallery of previous codes, copy and paste support and logo embedding. On this page I will show you the features and the project in detail.


QR code generation
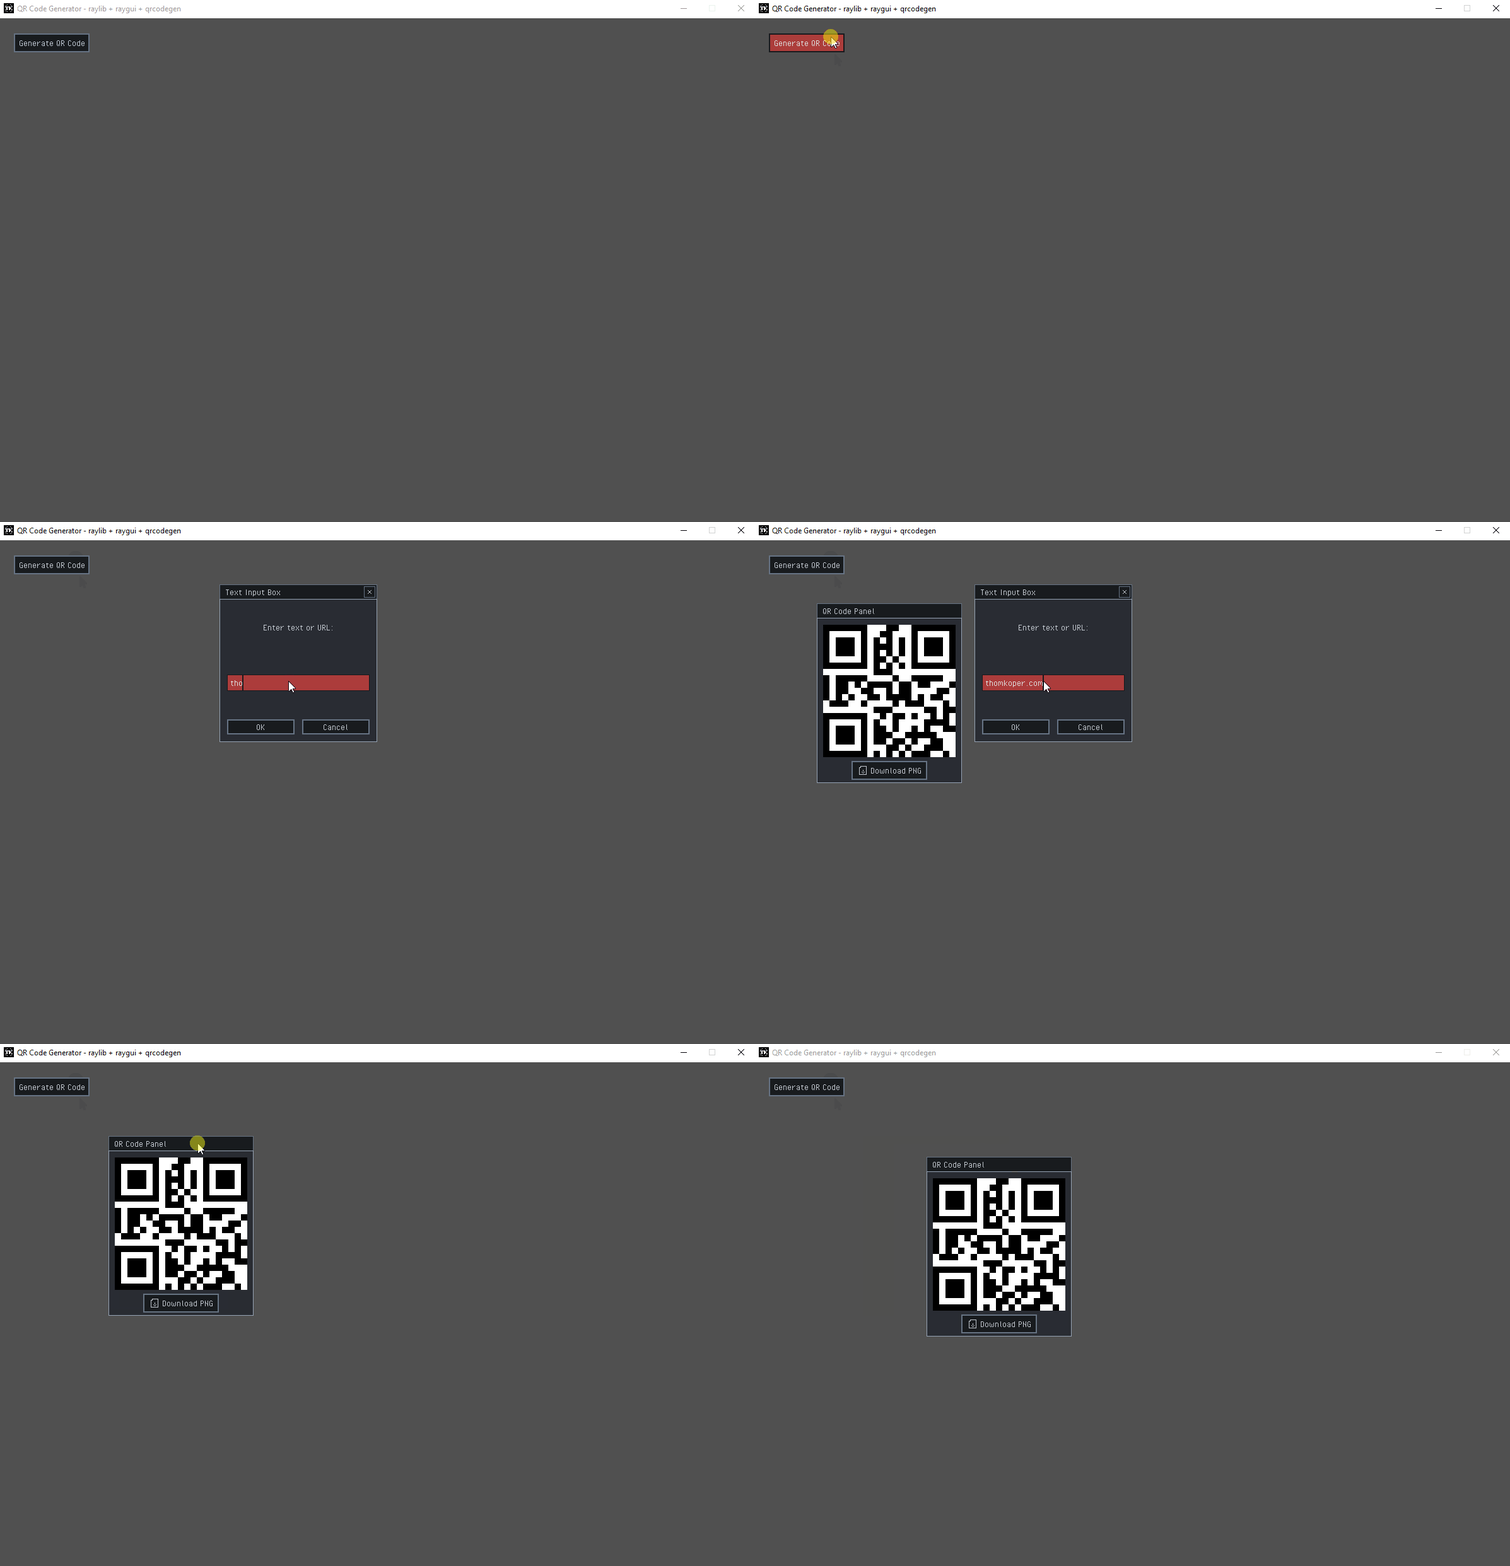
The app generates the QR code based on the text the user gives. This QR gets generated with a QR code generation library I grabbed from a repo. This library gives some functions that help generate data that you can transform into a image. With those functions and in combination of my own functions I write the data to an image and display that image on the screen.
The way I create that image/texture is by looping through the data given by the helper functions of the library. The most important data is a bool, true means the module(QR blocks that you see in the final result) is gonna be black/coloured in and false means it’s white.
I write this color data to an image and load that image onto a texture so that our GPU can render the texture onto the screen for the user to look at.
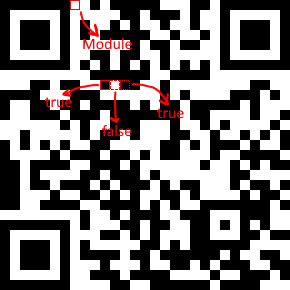
Image saving
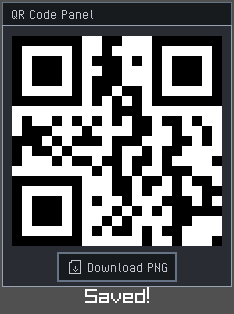
Saving an QR code image is done with functions from raylib and a library named: tiny file dialogs. This library gives us the functionality almost all programs and web apps use when saving images. That functionality is showing a small file explorer where you can confirm and search for a path to save your file. I let the user choose their perferred path for the file to save to.
I use this path to save the image to, by using a function raylib has provided: “ExportImage()”. This function lets me save the image on the users computer at the given location the user has selected for their file.
Custom QR Color
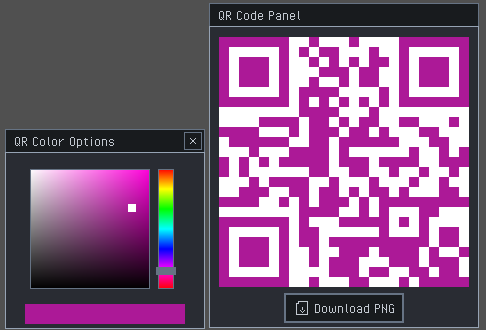
RayGui the Raylib UI library gives me a lot of options of panels and UI tools to choose from, the library also has a color wheel. I use this color wheel for my users to select their own color to customize their QR that little bit more.
This UI element gives me a color struct to use. This color struct contains the color the user has selected on the color wheel. Instead of just painting the pixels black in my generation code what I used to do. Now I give the selected color to the generator to write the “true” modules pixels with.
Pointers
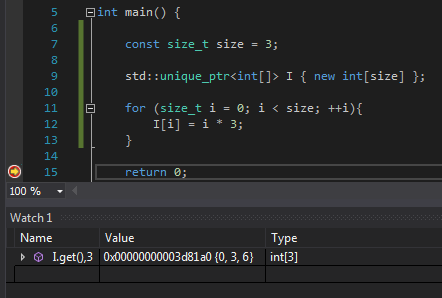
A pointer is a variable that stores the memory address of another variable rather than a value directly. This allows different parts of a program to refer to and modify the same piece of data without copying it, which is useful when passing data between components. I use this in multiple area’s of my program.
Raw pointers however come with risks, nothing enforces who is responsible for freeing the memory, which can lead to memory leaks or crashes. Modern C++ introduced smart pointers to solve this. A std::unique_ptr enforces that only one owner of the allocated memory exists at a time, and when that owner goes out of scope the memory is freed automatically.
In this project, the generator owns the color through a unique_ptr. It passes a non-owning raw pointer via .get() to the color wheel, which uses it to update the color value directly in memory. This keeps ownership clear, eliminates memory leaks, and avoids unnecessary copying between components.
Color* color = new Color(0, 0, 255);
std::unique_ptr<Color> color = std::make_unique<Color>(color);
colorPanel = new Panel(... , color.get()); // passes non-owning pointer to the wheel
Error correction level
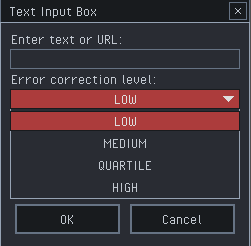
QR codes use different levels of error correction, this ensures that QR codes that are dirty, damaged or partially obstruced can still be used and scanned. It works by mathematically embedding extra, redundant data throughout the code pattern. But this makes the code bigger and larger in file size.
Because this error correction has drawbacks but also is really important when you need a code that can be damaged, dirty or obstructed I added a selection for the user to choose the error correction level. This then gets put into the generation of the code via pointers.
Custom Draggable panels
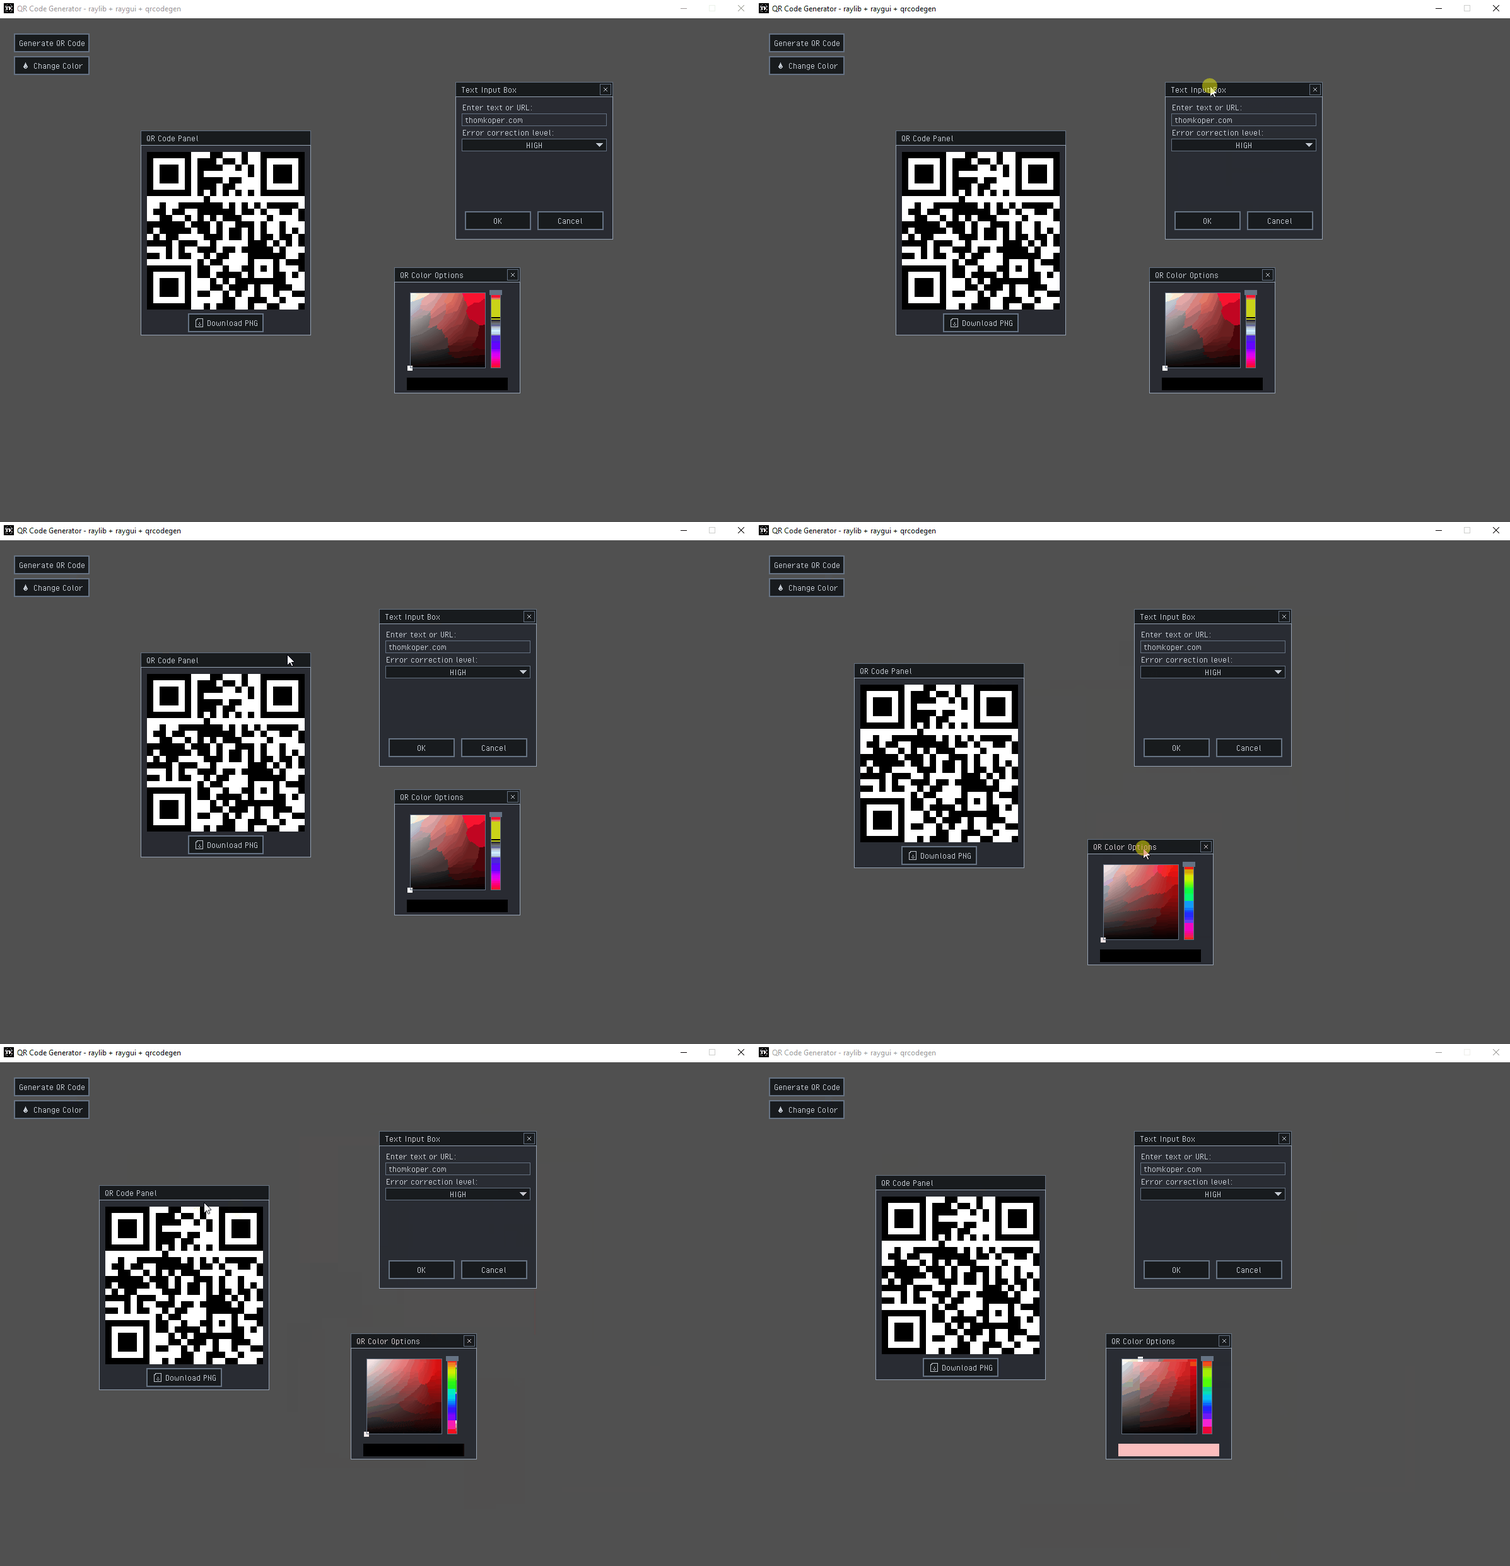
The RayGui from Raylib has no base support for windows and panels that can be dragged around by the user. So I created my own class: “DraggablePanel” that can be used by other panel classes to add drag functionality to the panel.
It works by checking for collision with the mouse in a given area of the panel, for my panels that is at the top bar just like panels in windows. When collision is detected the panels position will be updated every frame based on the mouse movement and the offset of the mouse to the origin point of the panel. Then you get this clean effect of moving around your panel
Custom UI panels
RayGui has some pre-made panels and windows with functionality I wanted, like: text input, colorpicker. But these panels have no room for expansion with extra functionality. So I created my own panels with the base elements from RayGui.
I layered the panels and widgets on top of each other based on the position off the underlying panel so that the user can still drag around the panels. This creates these panels you see here.
CMake
Finally to link all the files and library’s and build the project I use CMake. After some looking around CMake looked like a industry standard or at least a pretty populair option for linking, compiling and building the project. After some tutorials and reading some webpages I made my own CMake file for use on this project.
You can inspect the file on Github
Conclusion
I learned a lot from this project. From C++ and raylib to including library’s, building .EXE files and projects with CMake. This project was fun and provided me with a lot of value to continue with C++. There are still a lot of mistakes or hacky solutions being used of course and I can’t wait to learn more about the industry standards and how to program with the C++ language, in this project or other projects!